
This is part 2 of ‘Lets build a blog!’.
Welcome back! Last post saw me dive down the rabbit-hole of toolchain setup, which is an important part of any project. The right tools for the job make all the difference.
With the ground-work laid for developing my Jekyll-powered Azure Static Web Site in place, it’s time to pick up where I left off.
/skim-reading-to-catch-up
Really? I didn’t make it past step 1 of Prerequisites? Yikes!
Okay, it’s time to knuckle-down. No more distractions of shiny new tools & software to install. This session, I am totally going to get a blog site up and running…
Picking up where I left off:
Installing Jekyll on Ubuntu (WSL) really is as simple as the docs page suggests.
With that done, and steps two & three of the prerequisites already taken care of on account of my day-job, I’m ready to move on to creating a Jekyll app.
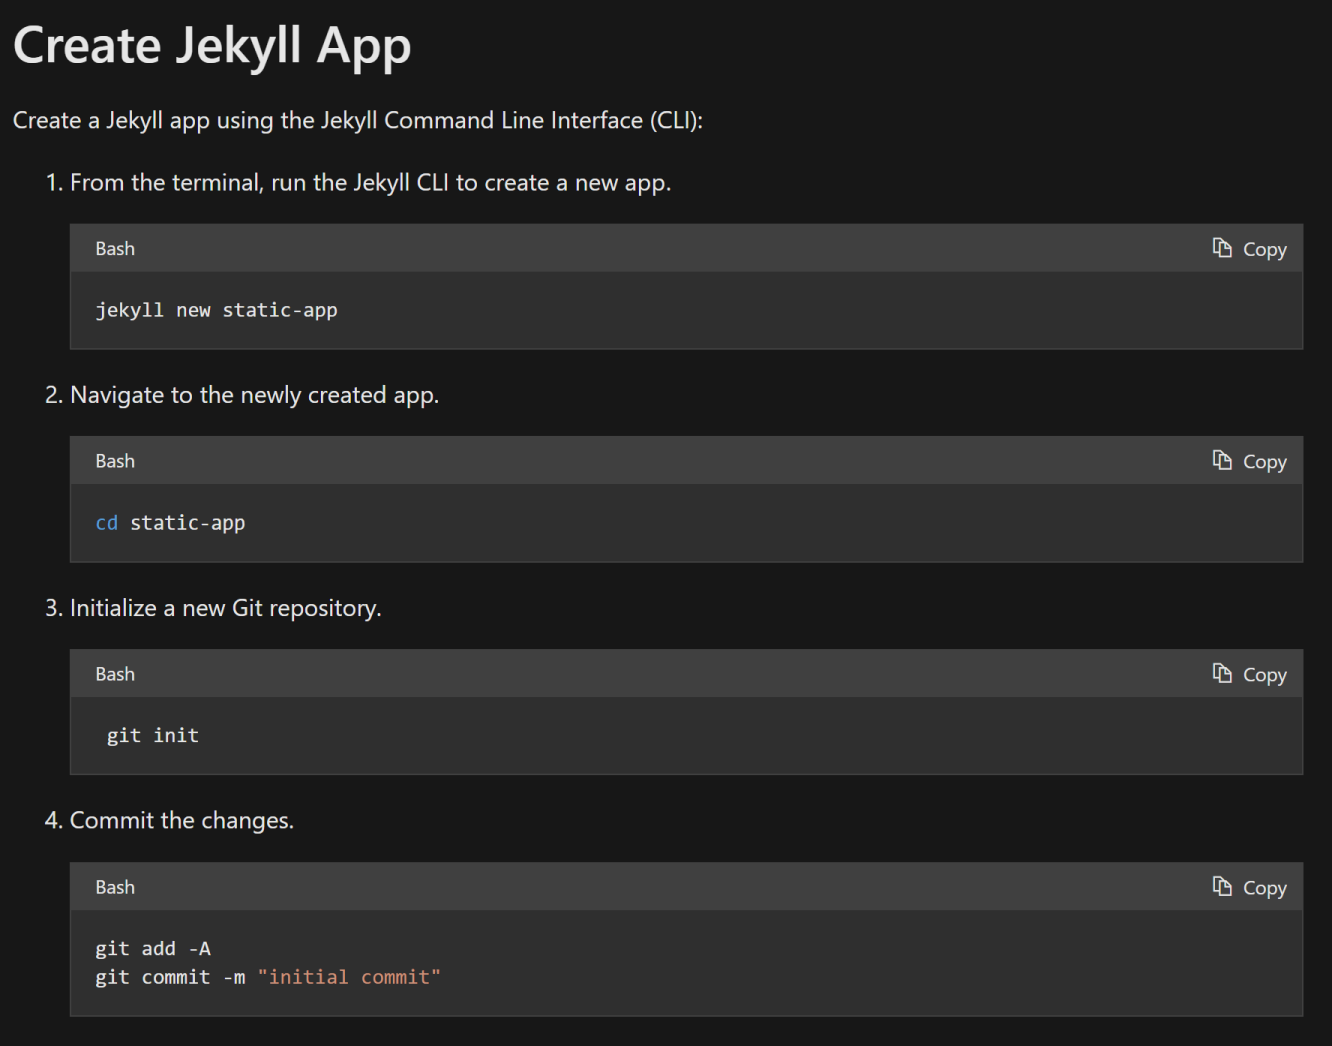
Steps 1-4 take me straight through to committing to a local git repository, but I’m not even sure what I’m committing at this point. Backing up to step 2, I want to actually see this static web app running locally. Perusing the excellent Jekyll documentation on command line usage indicates I can do that with ease.
From my trusty new Ubuntu WSL prompt in Windows Terminal:
> jekyll serve
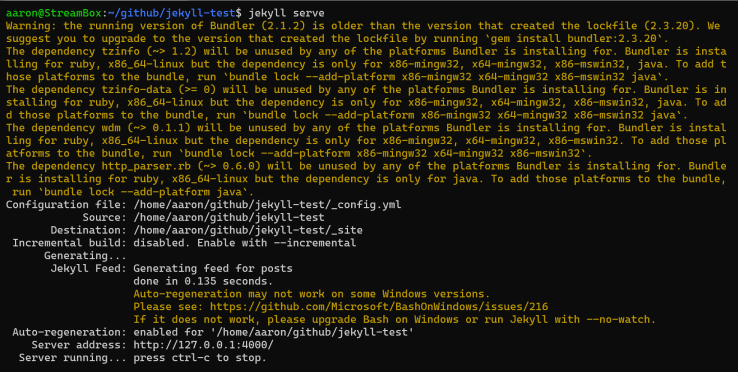
That worked, although it is a little on the verbose side. Lot’s of chatter about bundler versions and gem dependencies.
I’ve encountered this before, and know that the Ruby Bundler (which Jekyll is using under the hood) will make all the dependent gems available in my development environment. Let’s use that instead:
> bundle exec jekyll serve
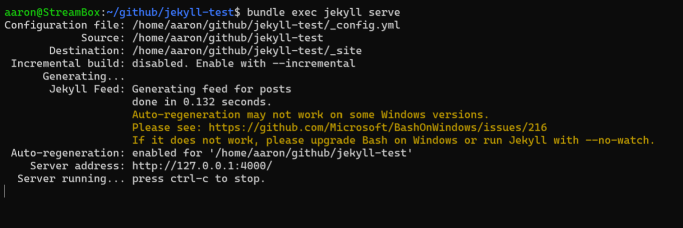
Much cleaner! Plus, I finally get to see what I’ve been working towards (at least, running locally).
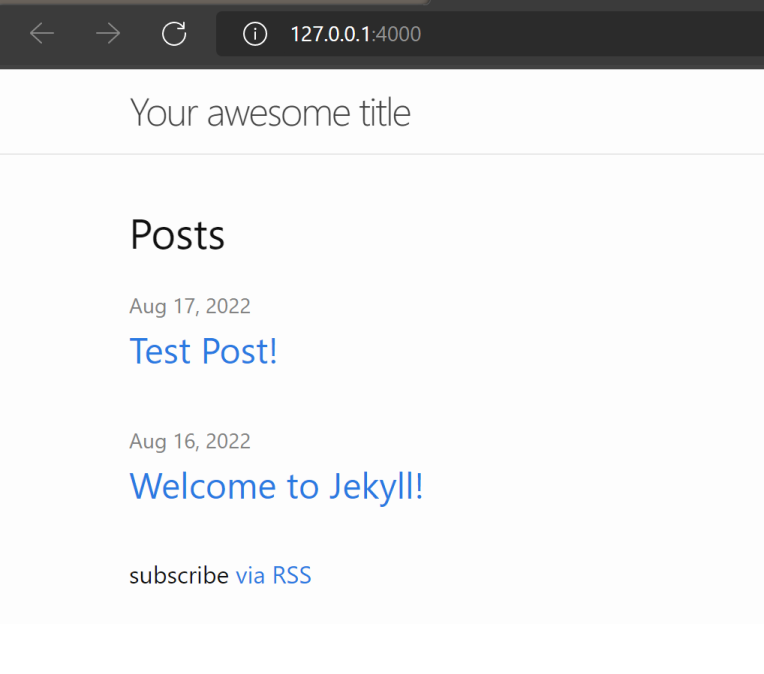
I guess that’s kinda cool..? It’s a little under-whelming, but that’s because I haven’t applied any themes or layout to it. That can come later. For now let’s get this pushed up to GitHub and continue on with the tutorial.
With my code sitting happily in GitHub, and the home-straight in sight, it’s time to set up some Azure cloud infrastructure.
Now I’m usually a little hesitant to click-ops my way through Azure infrastructure creation. Infrastructure-as-code via Terraform is my go-to for this type of thing, but there seems to be limited support for Azure Static Web Apps at the time of writing. Even if I did use Terraform to create the static web app, I’d still have to manually configure everything and that defeats much of the point of using Terraform in the first place.
Charging ahead with the manual configuration, there’s a good 12 steps to get through, yet each one is simple and easy to work through. Now that’s something I can appreciate!

Huzaah! I have a Jekyll blog site published to an Azure Static Web App. Next up: getting it “themed” and wired up with custom DNS!