
TL;DR
Nerd-fonts need to be installed in C:\Windows\Fonts
One of those things I’ve been meaning to get to is to “pretty-up” my new installation of Windows Terminal.
I spend much of my Git-time in my Ubuntu Windows Subsystem for Linux (WSL) instance, and it would be great to not have to git status all the time to figure out which branch I’m on.
Oh My Posh is a fantastic tool for this. It will detect git directories and present an informative command prompt populated with useful git-related information. Time to get this installed!
Starting with the Windows installation docs, the first thing I see is the caution notice about running under WSL:
When using oh-my-posh inside the WSL, make sure to follow the Linux installation guide.
Good info. Perusing the Linux instructions, it doesn’t look too different from the Windows instructions.
Installation was uneventful, so next up is installing fonts.
Again, a well-placed caution-notice advising:
This command needs to be executed as admin.
To me, that usually means to sudo all the commands. So here goes.

Okay then. Seems like my sudo environment doesn’t know about the oh-my-posh executable. Running the command exactly as specified seems to work just fine.
All good so far. Last step is to configure my shell to use Oh My Posh.
No front-and-center caution notice this time, so I charge right through that without any complaints.
It wasn’t until testing out the cmdline garnish that it became clear that something wasn’t quite right.
![]()
Nice and colourful, but the fancy icons are missing!
That’s annoying. Maybe it had something to do with that part about needing to execute as admin? That didn’t go according to the docs, and seems a likely candidate for mishaps such as missing font icons.
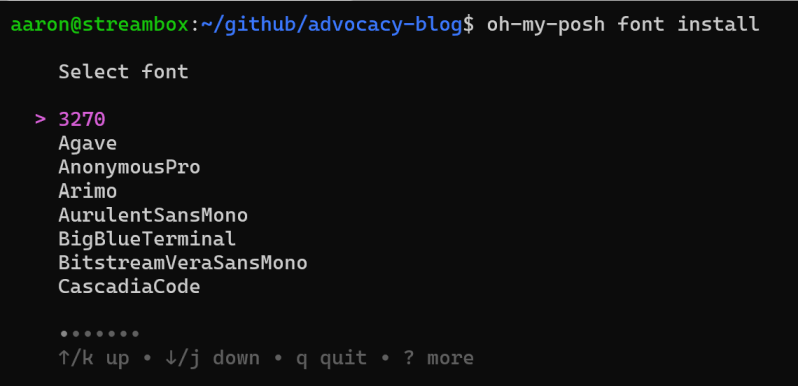
Given the outcome from last time, and assuming that admin means sudo, I can be explicit about the command by providing the full path to the oh-my-posh executable. Finding where it’s installed can be done using the whereis command.
> whereis oh-my-posh
> oh-my-posh: /home/linuxbrew/.linuxbrew/bin/oh-my-posh
Now that I know where it’s installed, I can try it again:
sudo /home/linuxbrew/.linuxbrew/bin/oh-my-posh font install
That executed without issue this time, but didn’t fix my prompt issue. Icons are all still missing.
Quite annoying! That’s even more than regular-annoying.
So what am I missing here? Icons aren’t being displayed, but it’s actually more than that. The Meslo font I’ve installed isn’t even detected in the font selector.
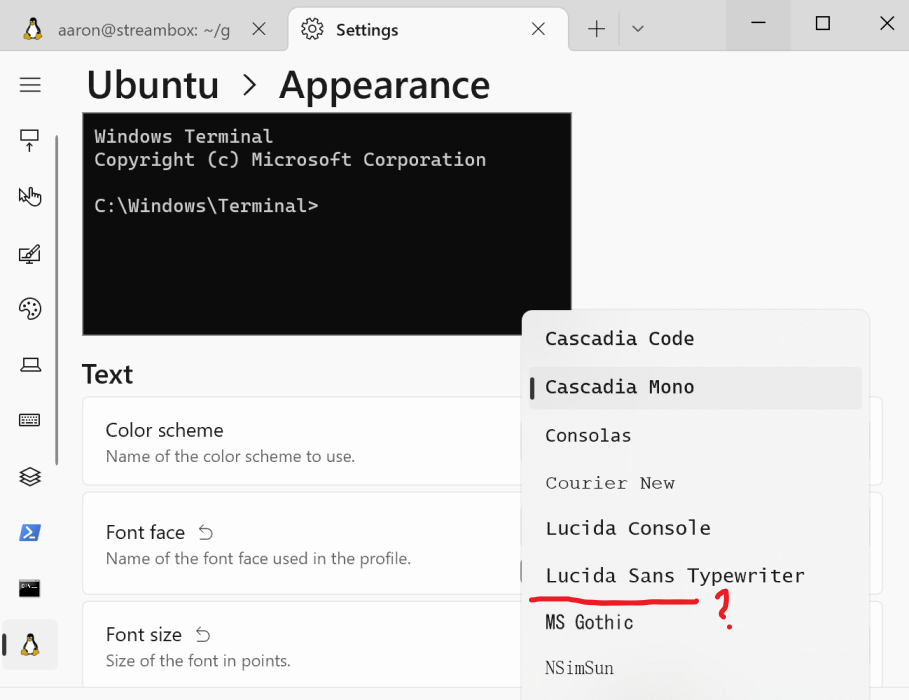
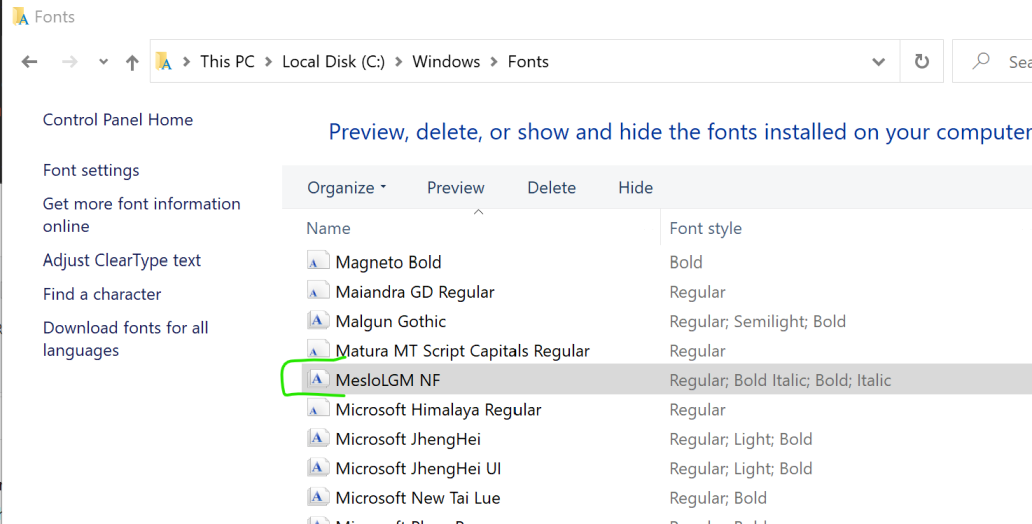
The Terminal app is a Windows app (albeit showing me content from a Linux system). A windows app would need to know about fonts installed in Windows right? Well that’s easy to check. There’s a folder for that: C:\Windows\Fonts.
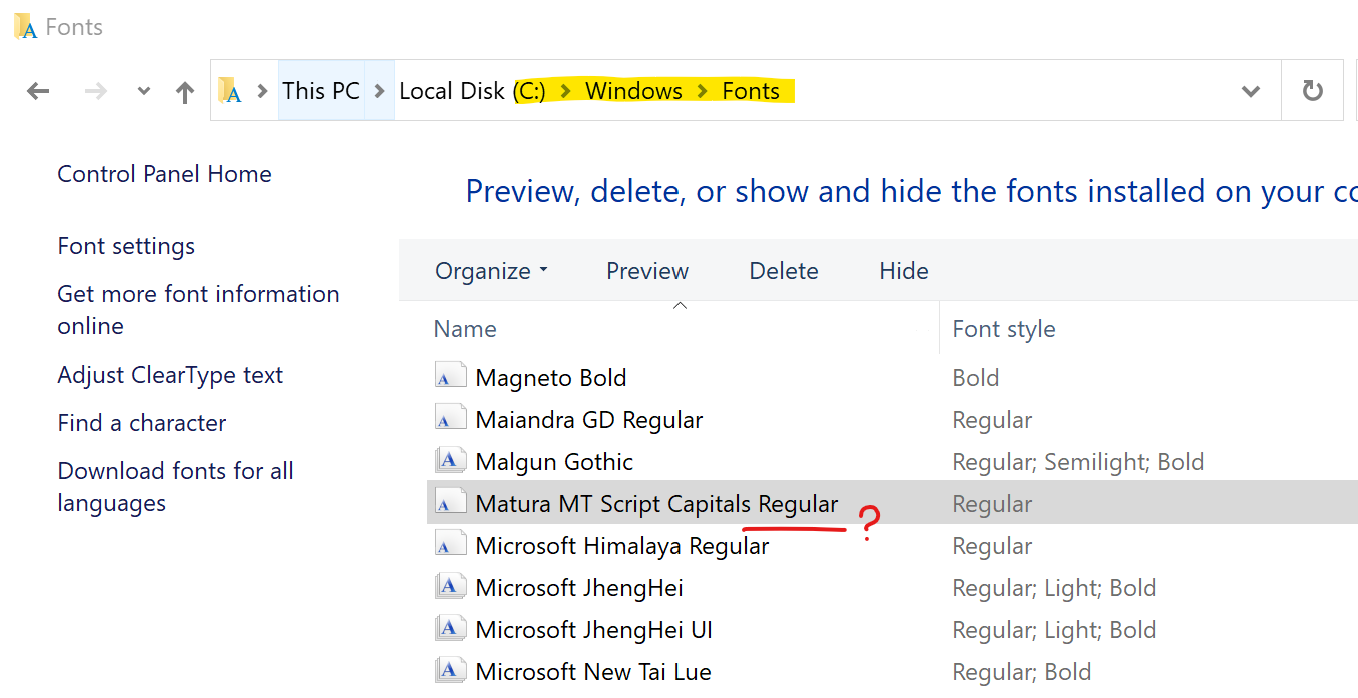
I don’t see my installed font in there. Probably because the font-installer ran from inside my WSL environment (as per the installation instructions).
The Oh My Posh font page has a link to the Meslo font, so lets download that manually and copy it to the Windows fonts folder.
Restarting my Terminal prompt and Ta-da! It works! A fancy Linux prompt complete with my git information!
![]()
Now, I know I just git status right there, but that’s going to be a slow habit to break!!
Attributions:
- Oh My Posh Logo on GitHub